 Same Day Dispatch Mon-Fri Before 2PM

 Free UK Delivery on Orders Over £50
-
 By
Jonny Tennant
By
Jonny Tennant
- 03/02/2023
Pastel Drawing
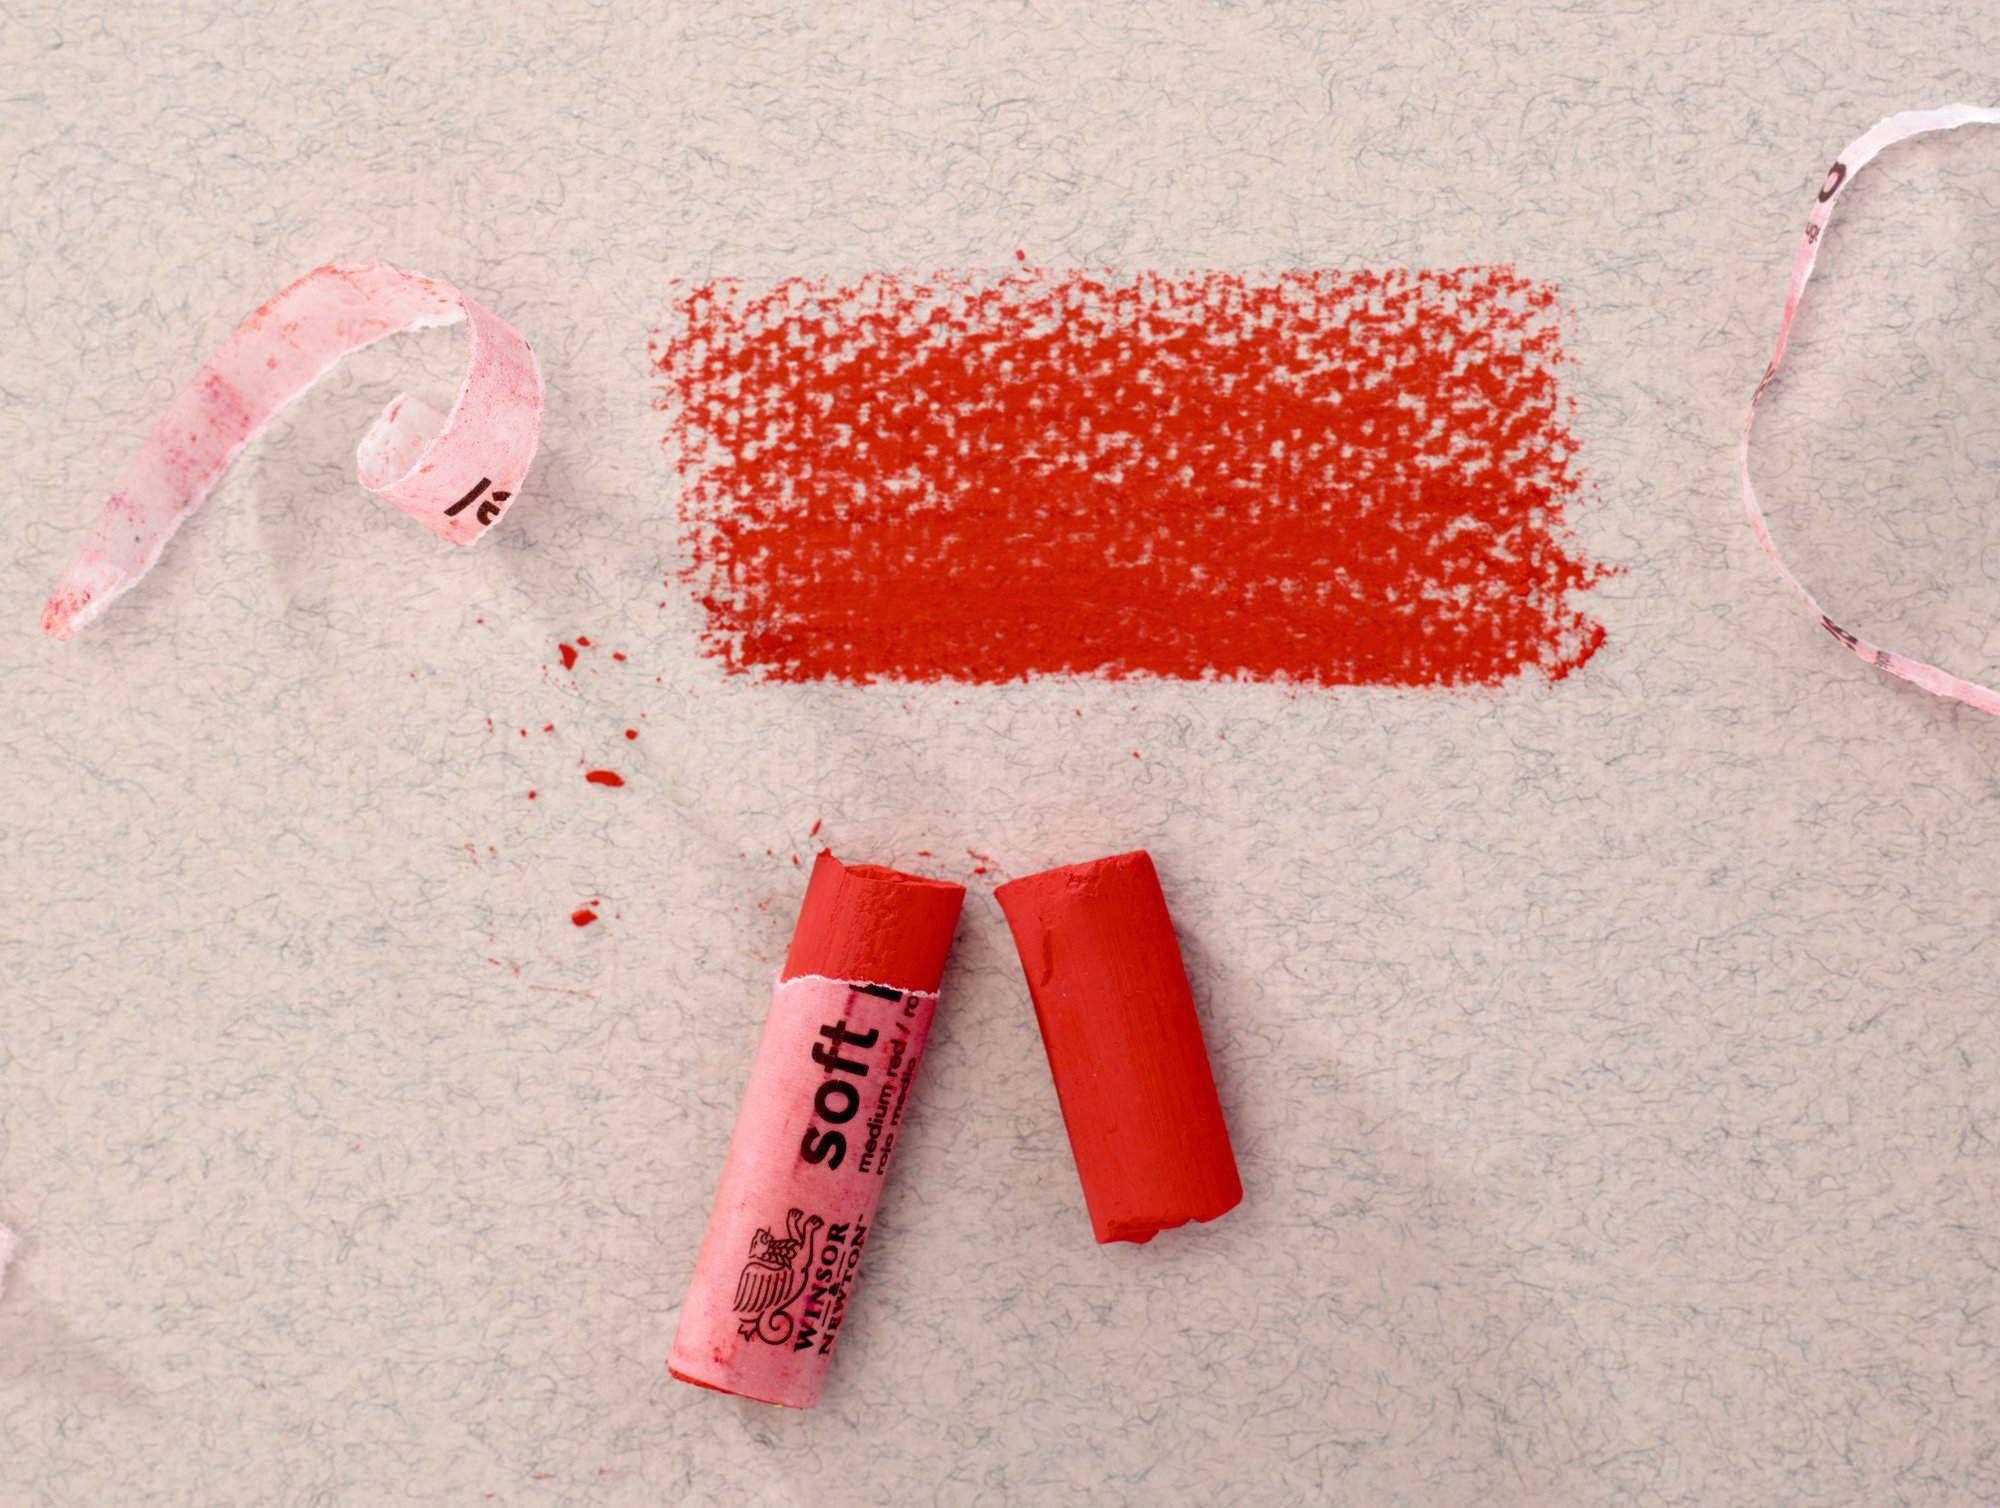
Drawing with soft pastels
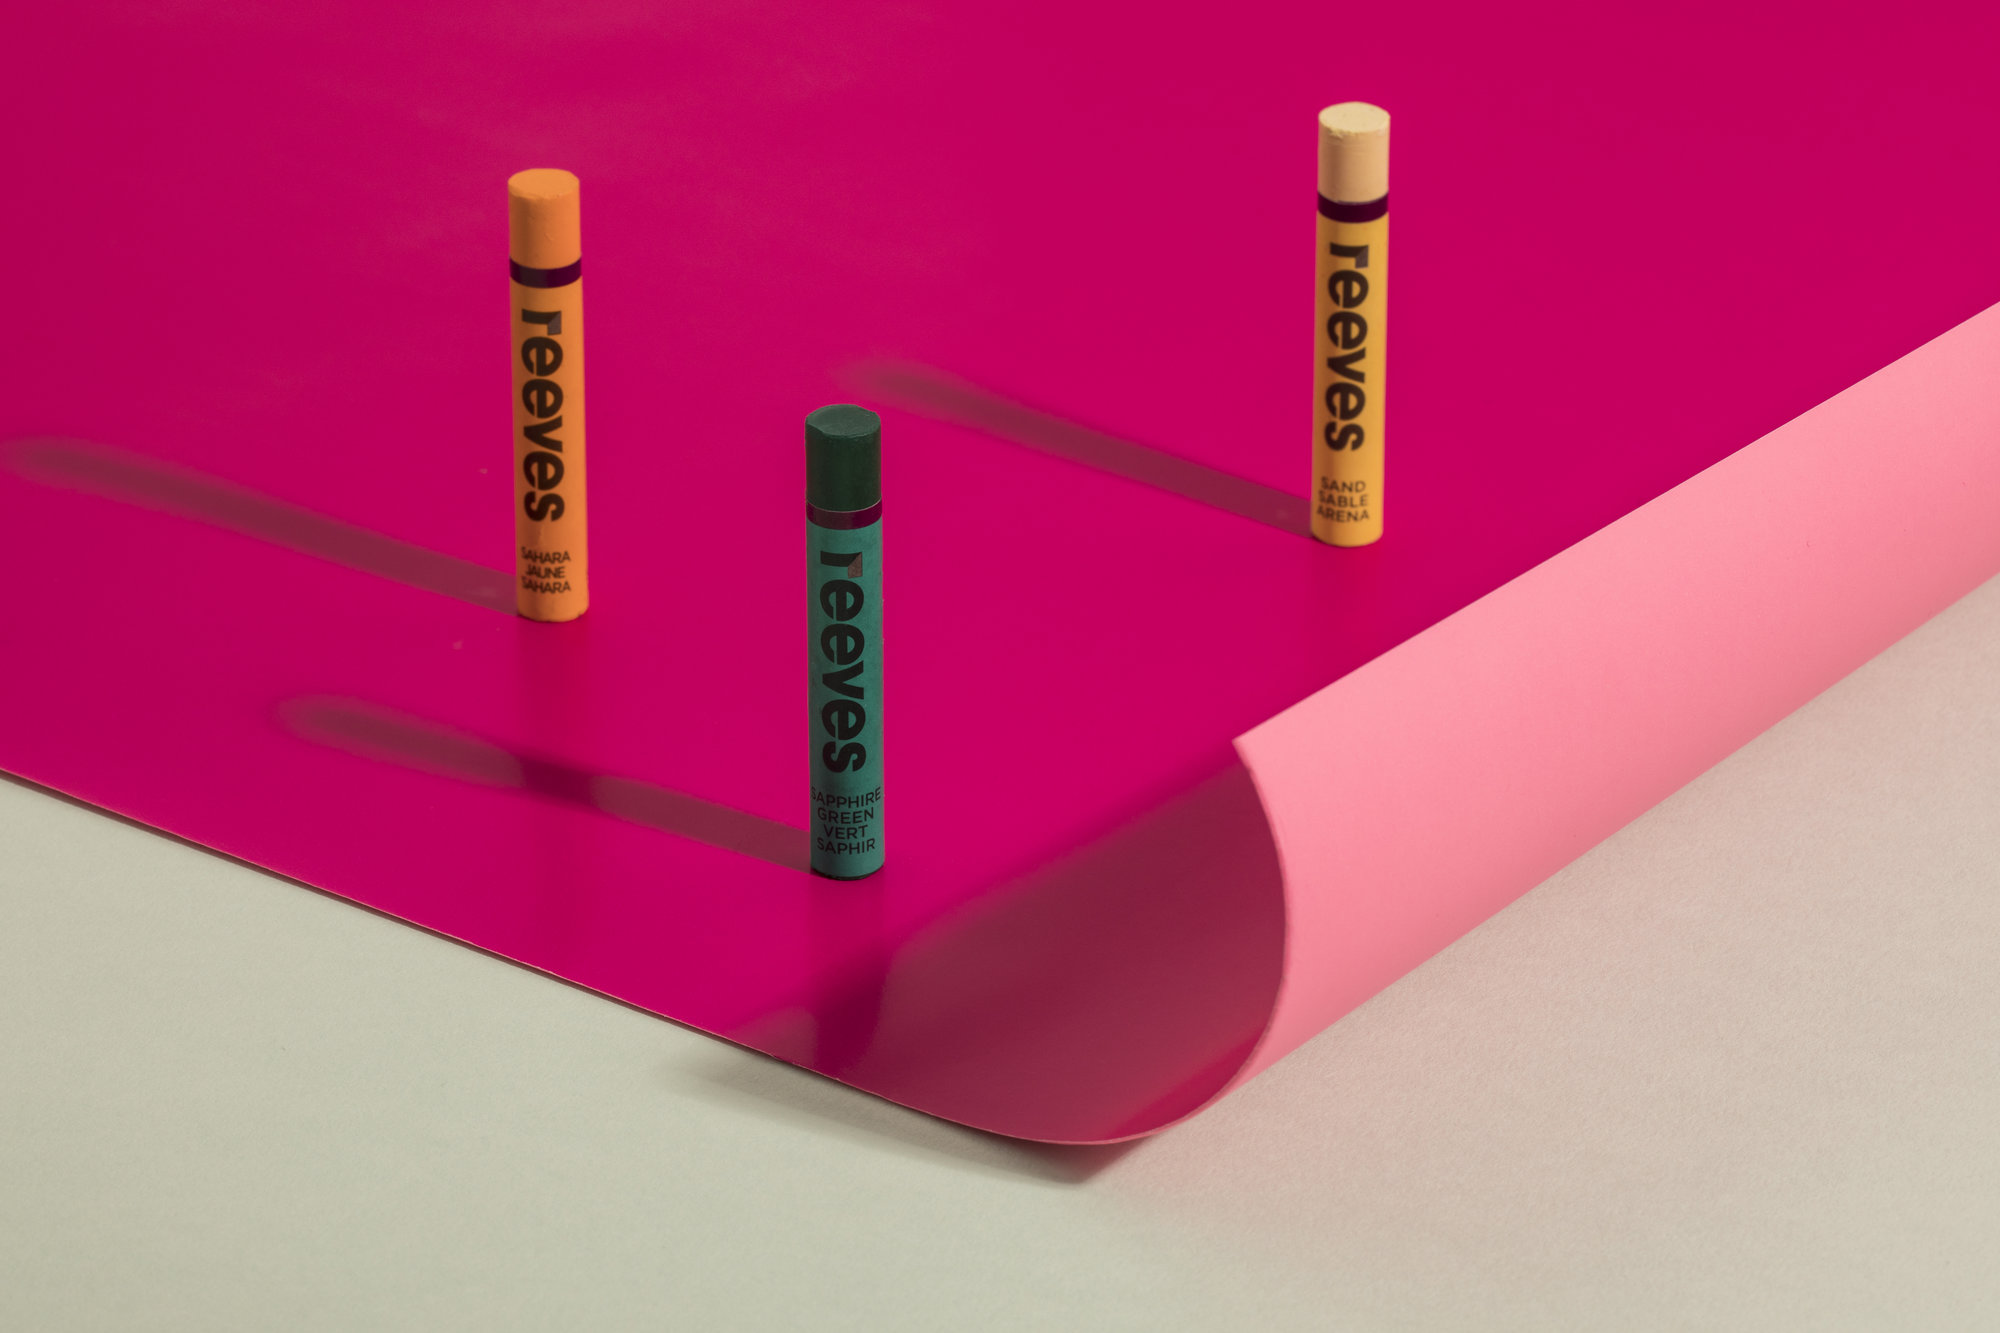
Pastel drawing blurs the line between drawing and painting – a truly expressive and unique medium that can be used to create beautiful artwork.
Used for centuries, soft pastels allow you to create art anywhere, with minimal equipment. There’s no need for brushes or water – just a pack of pastels, paper and a little inspiration.
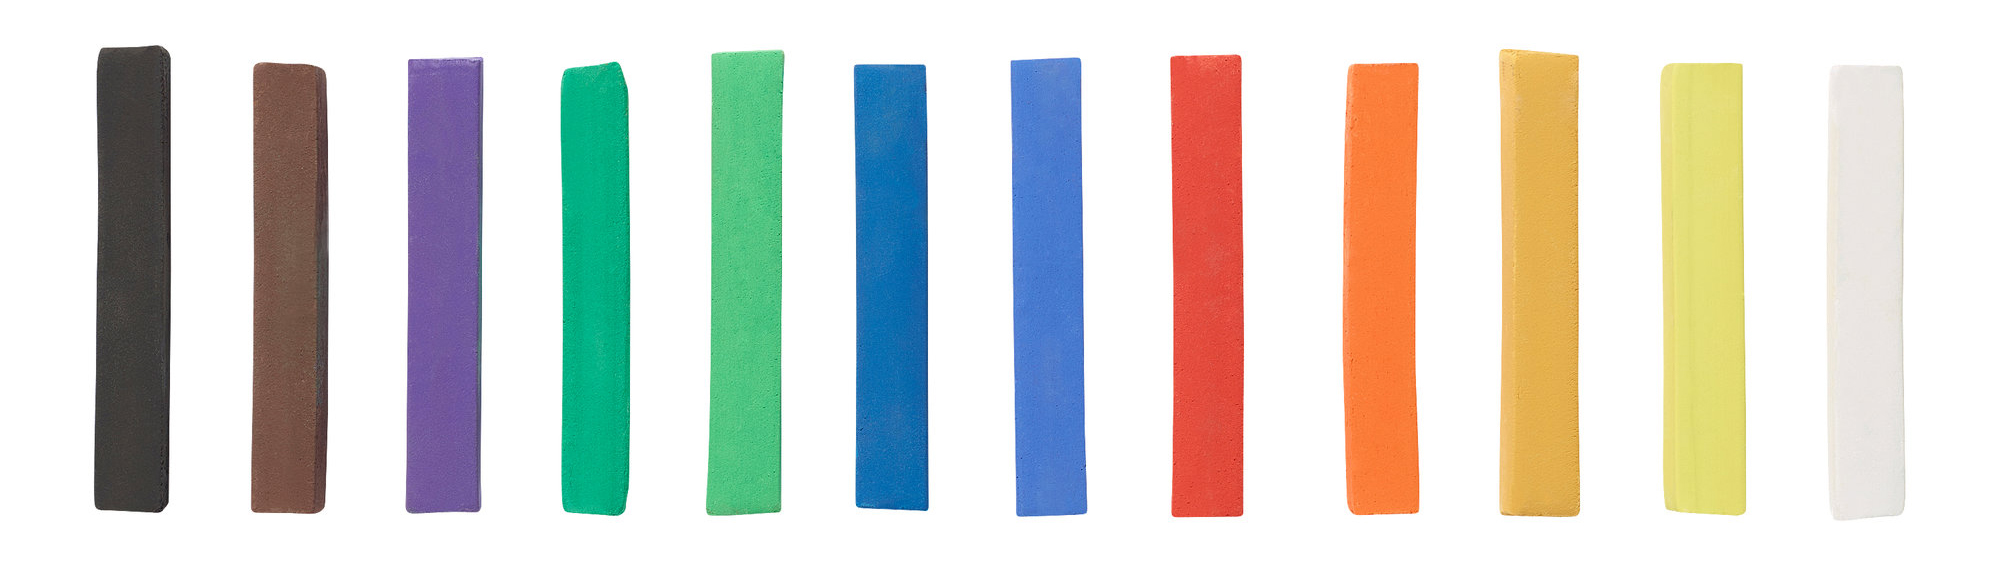
We stock a wide range of soft pastels from excellent brands, like Conte a Paris, Inscribe, Unison and Van Gogh.
What are soft pastels
Soft pastels are made from pigment, water and a small amount of chalk or binder. Soft pastels can’t be pre-mixed like paint, so it’s best to have a large range of colours to work from.
Soft pastels vs oil pastels: differences
· Soft pastels are more brittle and have a crumbly texture – this means it’s difficult to keep a sharp point.
· Oil pastels have a smoother texture, with a slightly greasy feel, similar to a crayon in shape.
· Soft pastels tend to messier to use, creating dusty residue as you work.
· Both pastel types can be blended, but soft pastels are easier to mix.
What paper should I use with soft pastels?
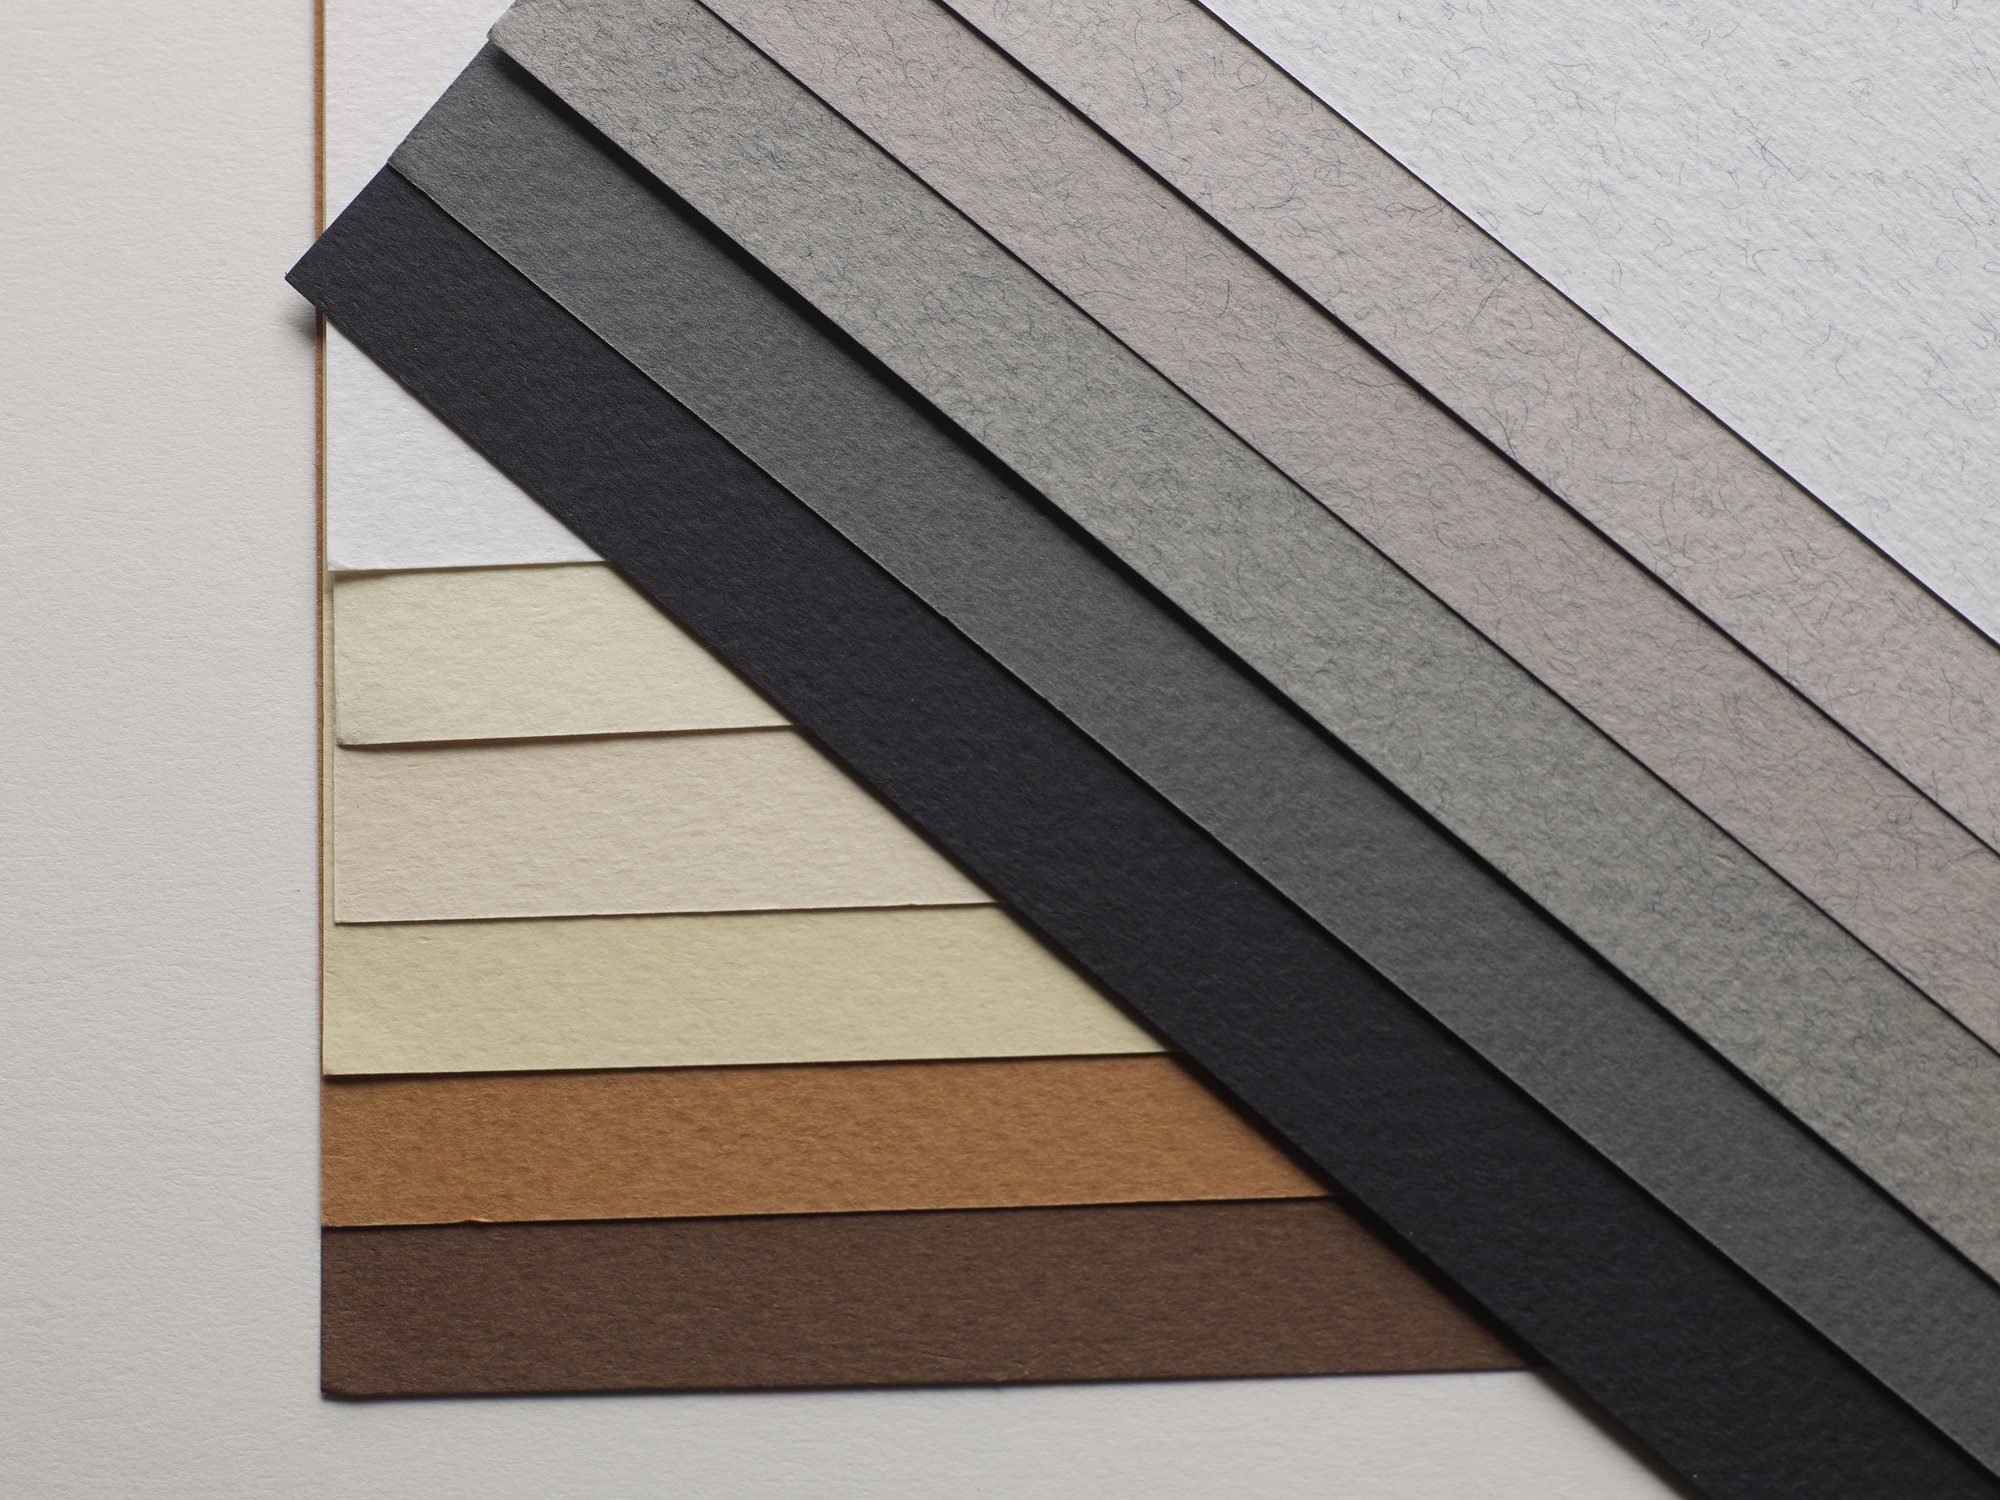
Textured paper is the most popular surface for pastels as the tooth makes it easier to catch the pigment from soft pastels. Smooth paper, like traditional printing paper, isn’t well suited to pastels as it’s too smooth and makes it more difficult to apply.
As well as pastel paper – which is one of the best options available – watercolour paper is also an excellent choice for soft pastels. Artist grade watercolour paper with a rough feel is what you’ll need, so avoid any with a smooth texture.
If you’re looking for a larger surface to work from, canvas is also a solid choice. Be warned, you’ll need to find canvas that isn’t primed, as the gesso used to prime a canvas will remove some of the required tooth.
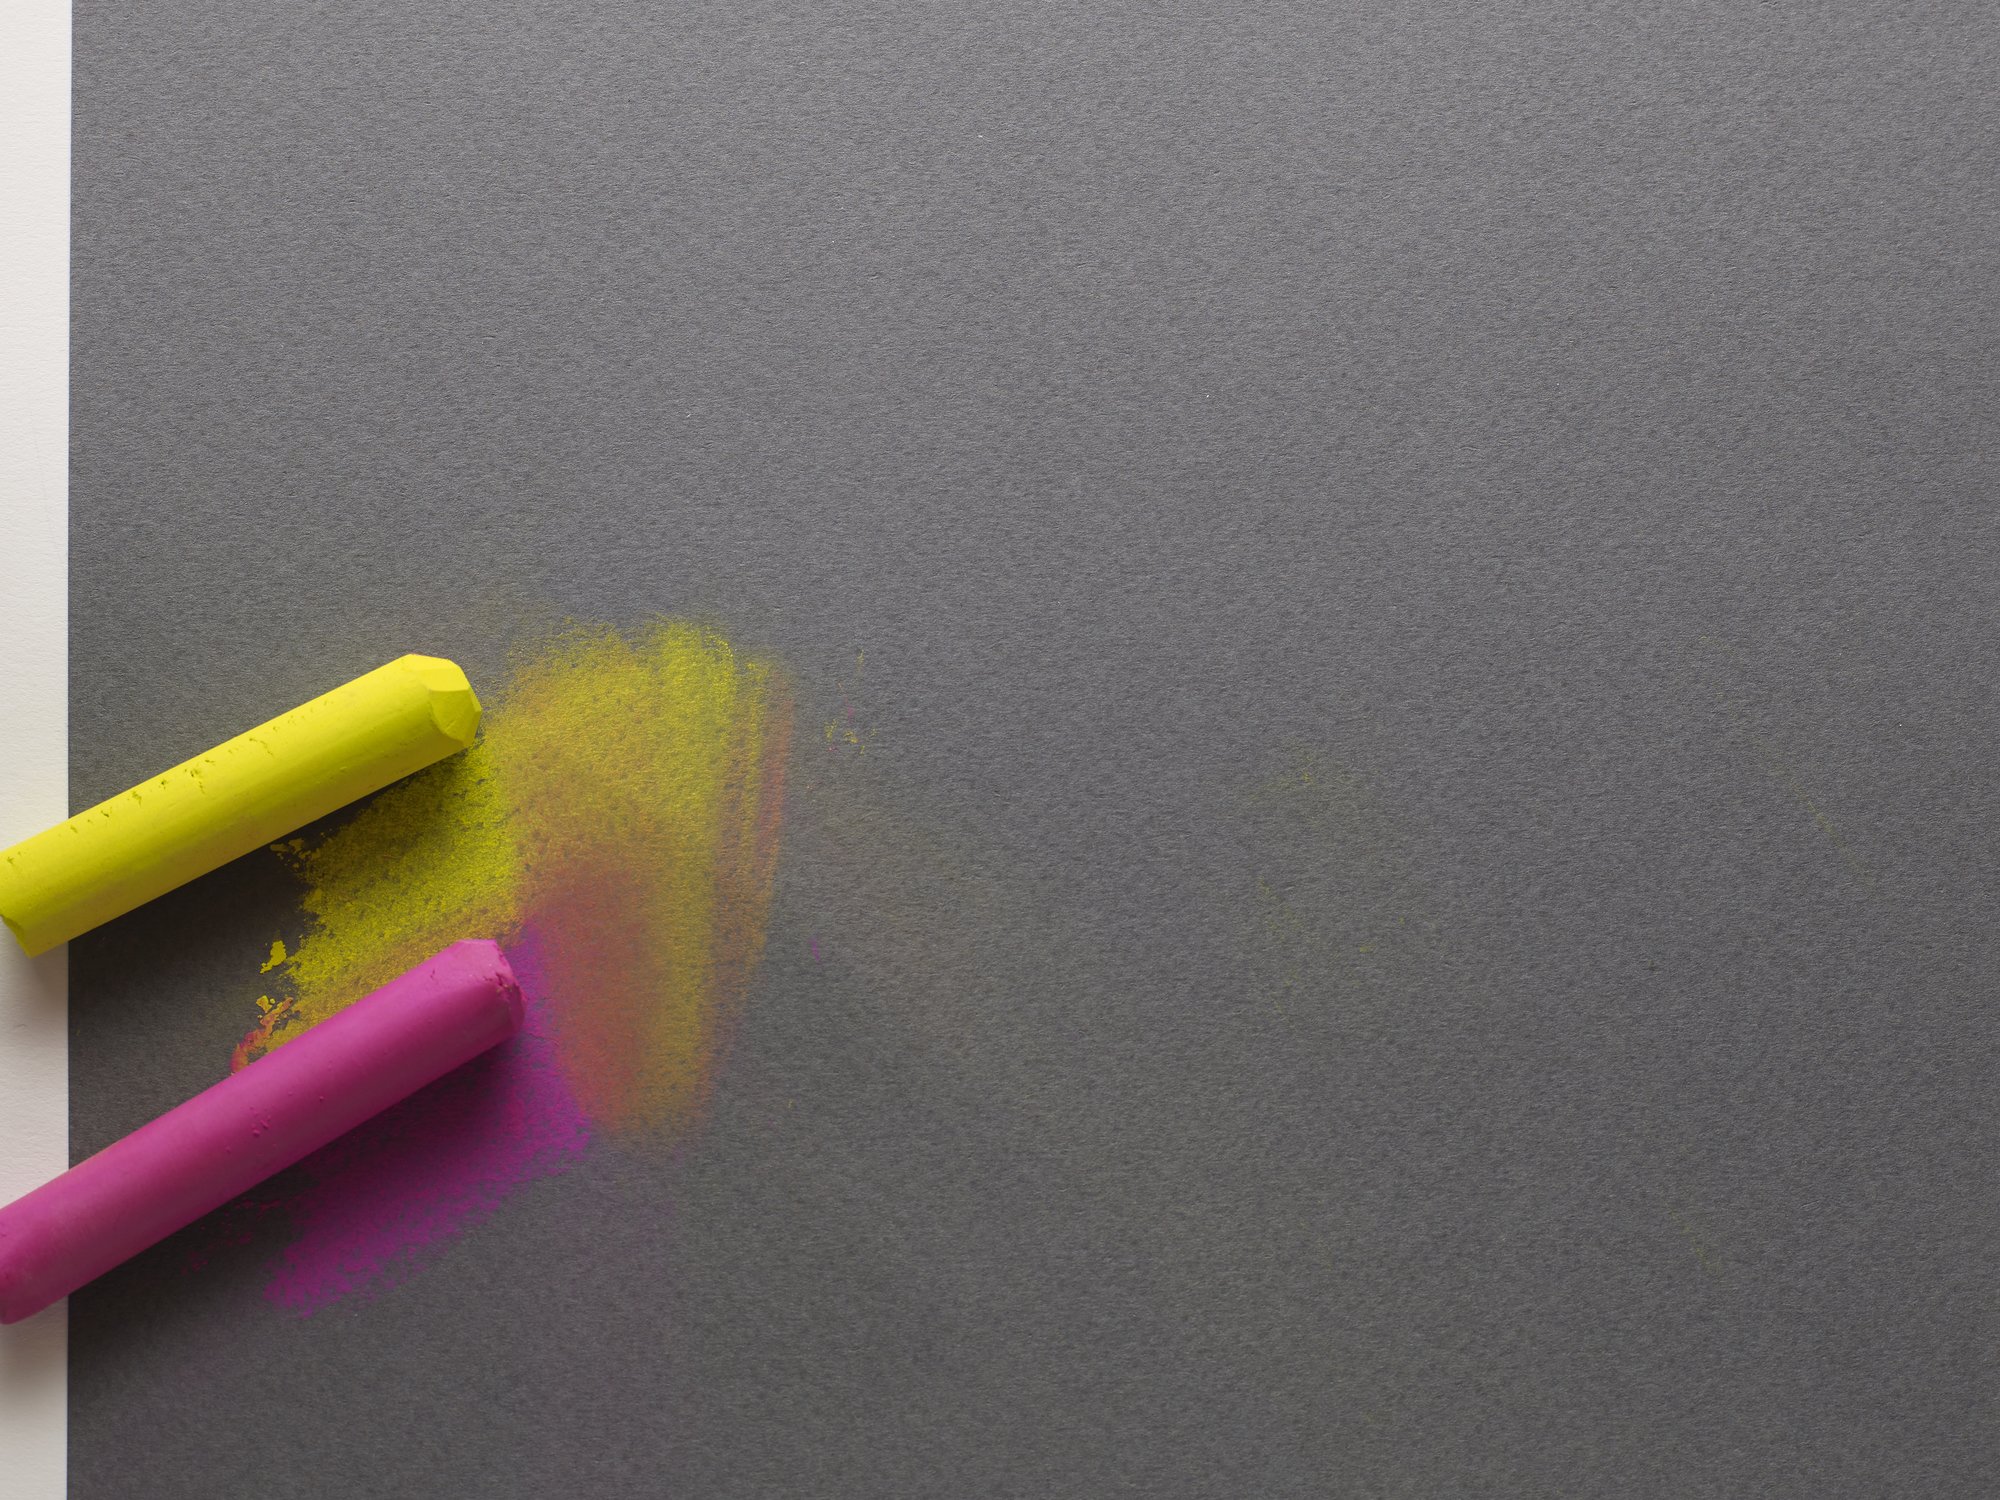
Blending soft pastels
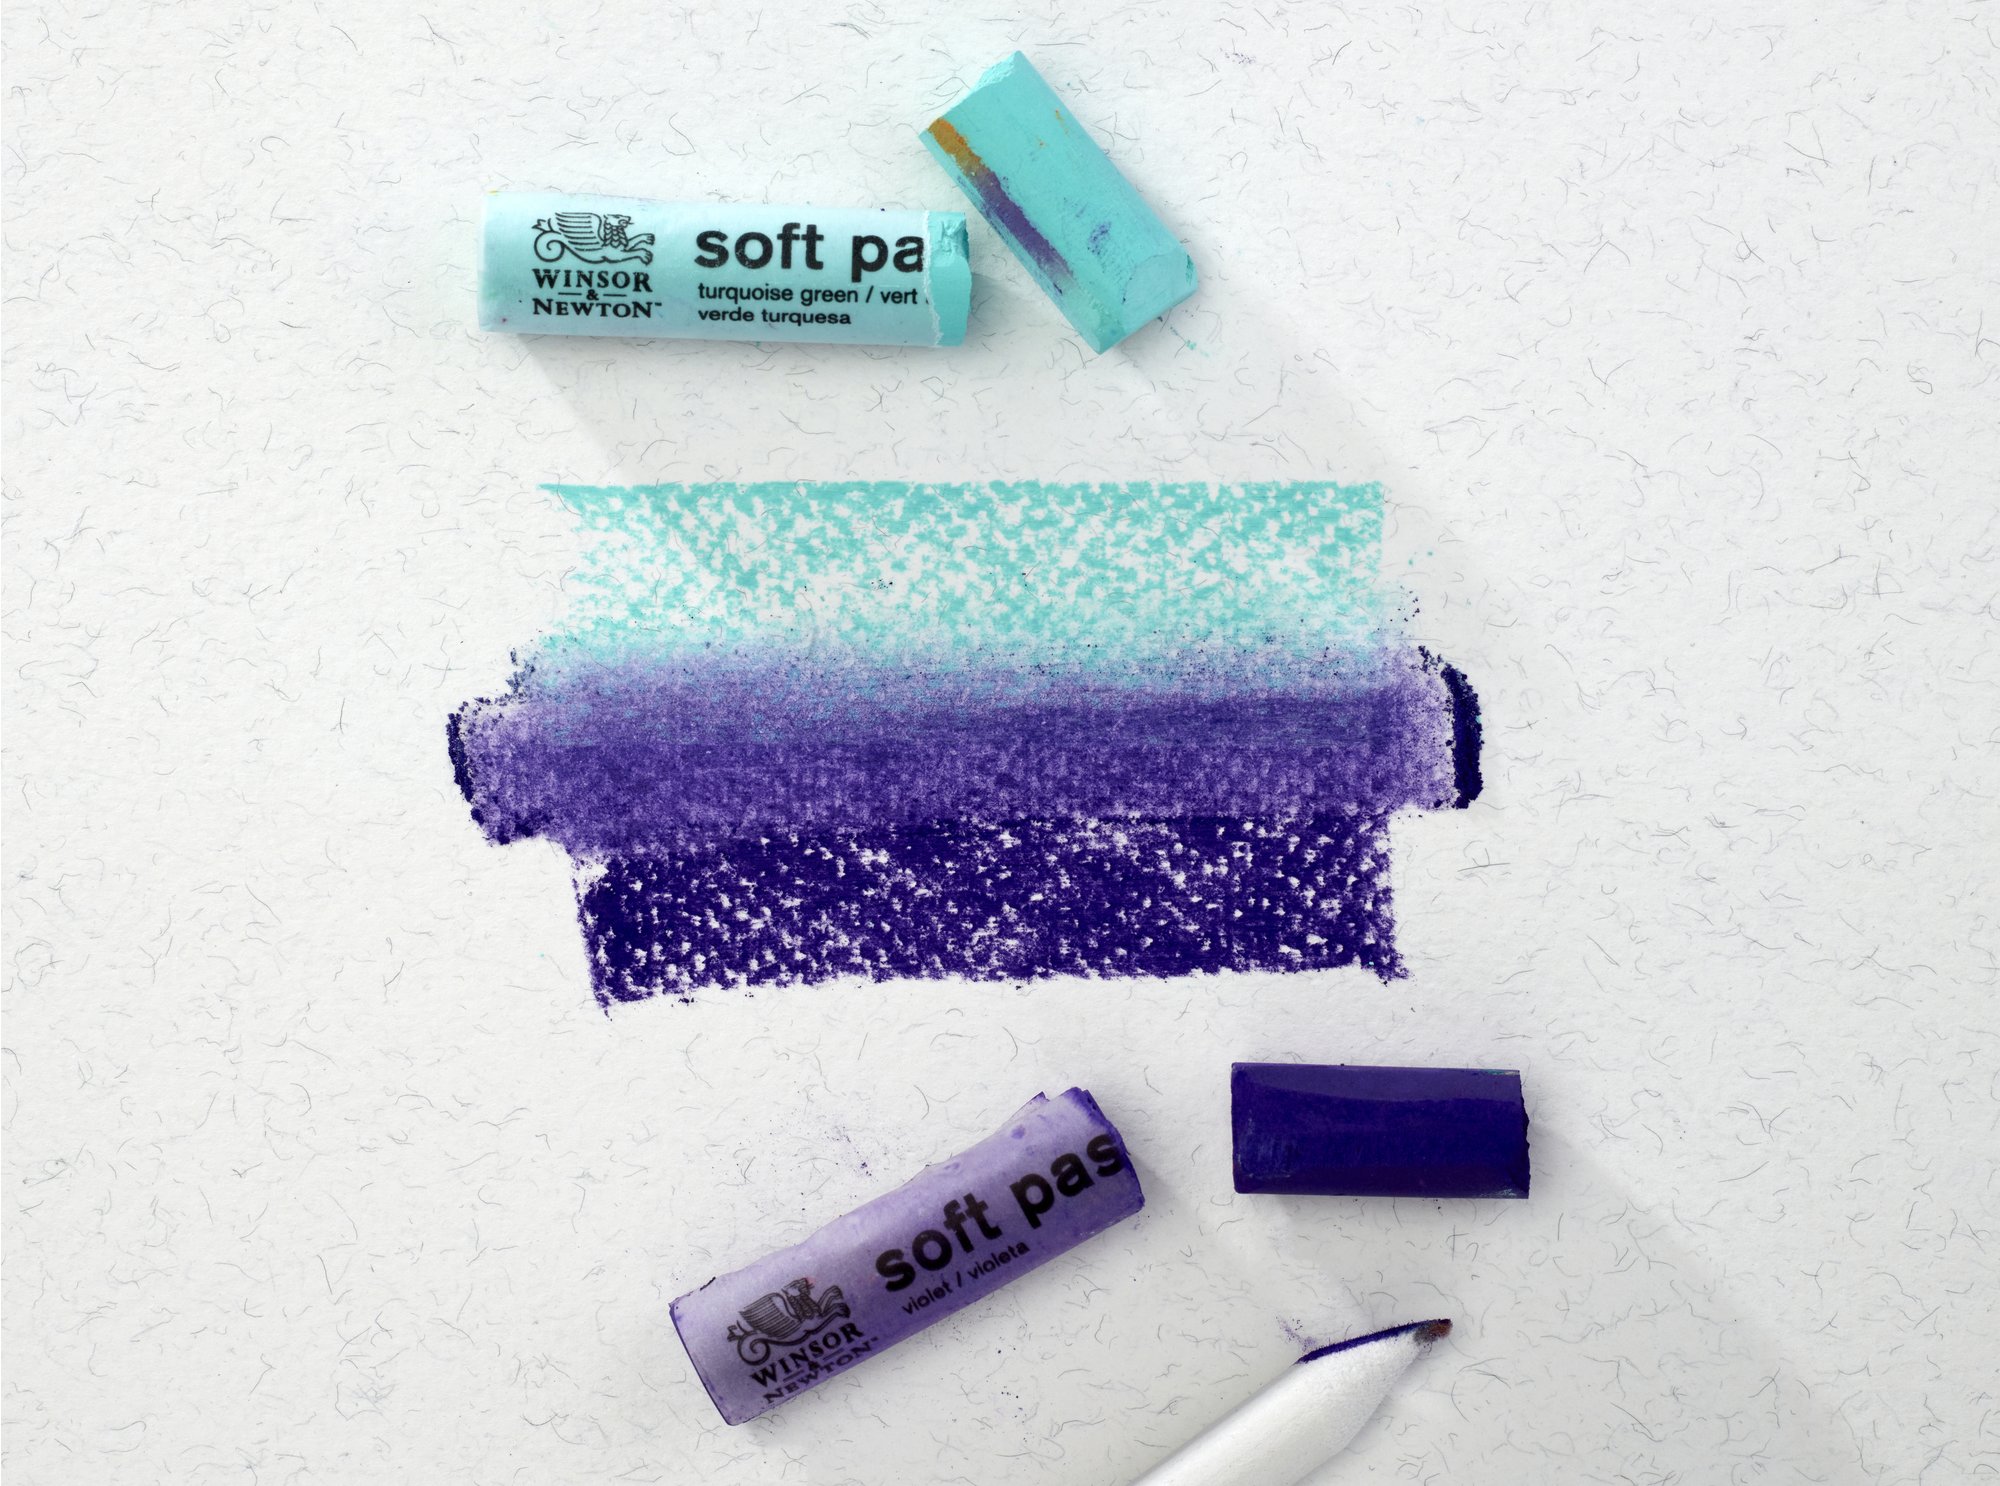
Blending soft pastels is a key skill for any kind of soft pastel work. Luckily, it’s simple to do and one of the most enjoyable parts of working with this medium.
Draw the colours you want to mix so they are slightly overlapping, then gently blend together with a brush – or just your finger. Try to use a brush with soft bristles to allow you to mix colours carefully.
Try not to mix too many colours together – the more shades involved in your mix, the duller it will look.
Mixing soft pastels effectively will require time and practice. It’s a good idea to try how different shades appear on a piece of scrap paper to get a feel for how they react together. Once mastered, blended soft pastels can make exceptional artwork.
Soft pastel techniques
Create perspective using blending
Blending can be used to create the illusion of perspective – especially on landscapes or the side of a face in portraits.
Use unblended pastels in the foreground and the details you want to focus on, then blend together the background to give the appearance of a blurred background.
Work with speed
It can feel intimidating to build up the composition of pastel to create your image. Try working quickly and with a loose grip to build your base colours up rapidly.
Try drawing using movement from your elbow, rather than your wrist, to create loose shapes that will form the building blocks of your artwork. A simple way of covering a large surface area is to hold the soft pastel on its side.
Be sparing with black pastels
Black must be used carefully in your artwork – it’s difficult to blend and can cause discolouration of lighter colours when mixed side by side.
Instead of using lots of black pastel, try using a darker shade of the colour you’re trying to darken. Or, try using a black, textured paper to work from if your subject has lots of darker areas.
Try pastel pencils for detail
Pastel pencils have a pointed nib which makes them and ideal accompaniment to soft pastels.
Use a pastel pencil sharpener rather than an ordinary pencil sharpener if you can, as the special shape will allow you to achieve a point – without breaking the nib.
Don’t expect to maintain a sharp point like a pencil however – using the edges rather than a point is key to getting the most from soft pastels.
Hatching
Hatching can be an interesting way to add patches of colour to be blended later. Use the edge to create small, compact lines – then mix together gradually with a finger or brush.
Avoid using too many colours at once
Softly softly is the best plan when drawing with pastels. Add colours sparingly to begin with, as mixing too many different shades at once can create the dreaded grey sludge.
Try to plan the colours you want to use in advance, mapping out areas to fill, rather than trying to build lots of colours on top of each other (so unlike oil paint, for example).
Fixing your pastels
You may be wondering if your soft pastel artwork will need a fixative to protect it – after all, the dusty effect they create is prone to accidental smudging.
There’s no exact science when it comes to using fixative with soft pastels. Be mindful that using a fixative could potentially ruin your artwork.
It can make your dark shades even darker – which may not be such a bad thing – but using too much fixative could be troublesome. Adding fixative over a layer of soft pastel could make the page too slippery and make it difficult to apply another layer over the top.
If you want to use a fixative – use it sparely and be prepared for colours to change.
Excited to dive into the world of soft pastels Browse our fantastic range to get started.